If you are having a hard timing finding the option to add a text box in Google Docs, then I am here to help. Today, I am going to show you how to add a text box in Google Docs and customize it.
Inserting a text box in Google Docs
Unlike Microsoft Word, Google Docs doesn’t have a dedicated option to add a text box. You’ll have to use the drawing tool to create a text box and add it in the document. Here’s how: From the “Insert” menu at the top, hover your mouse cursor over “Drawing” and then click on “New”.
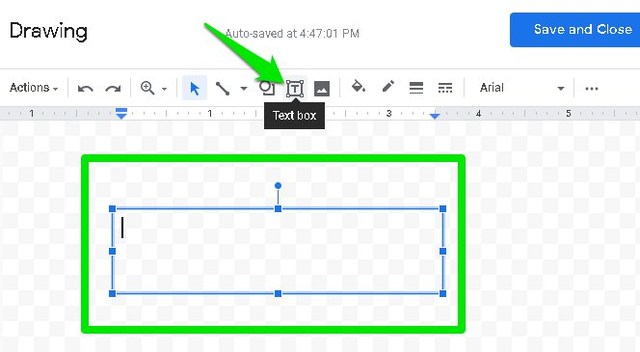
Here click on the “Text box” button and draw a text box by holding the left-click and dragging.
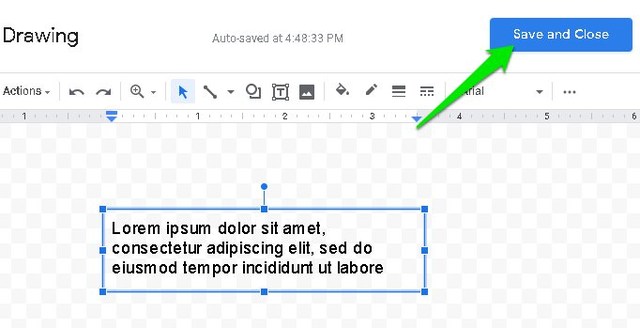
Now fill the text box with the text you like and click on “Save and close” button at the top-right corner to insert it into the document.
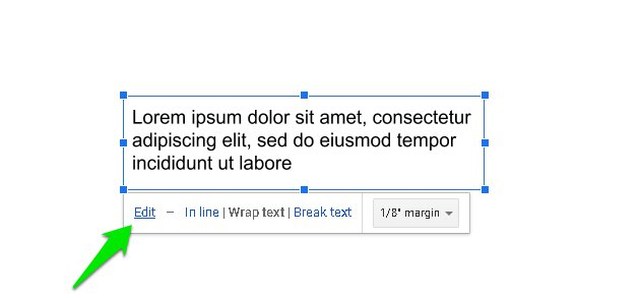
By default, the text box will be set to “In line”, you can click on “Wrap text” to move the text box around.
Customize the text box
The above instructions are sufficient to add a plain text box, but if you want a more attractive text box then it can be customized as well. Here’s how to do it: Click on the text box to highlight it and then click on “Edit”.
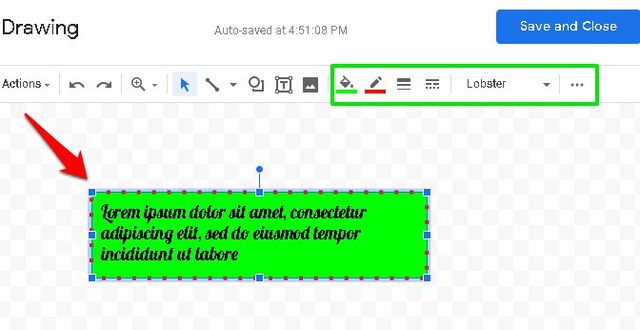
Now click on the text box again and you will see some new formatting options on top. You can use these options to customize the text box as you like. You can change text box color, border width, background color, and font style.
Furthermore, if you click on the three horizontal dots menu at the last, you can access text formatting options. These options will allow you to customize the text inside the text box.
Once the text box has been customized to your need, click on the “Save and close” button to insert it into the document.
Ending thoughts
Google Docs may not provide the option to add a text box up front, but it does allow you to heavily customize the text box. Alternatively, you can also add a 1×1 table that actually looks quite close to a plain text box. However, you can’t freely move it around or customize it. Let us know in the comment if you found this tutorial helpful.


